Rhubarb and Ginger Conserve

I know what your thinking, will this mad bohemian woman stop writing about rhubarb. Well, there is a reason to my madness and it’s very simple. I am trying to make a major effort in trying to appreciate and cook what is in season. This is for two main reasons, firstly  food tends to be fresher and therefore healthier and secondly I want to get back to being thrilled by each seasons offerings. So excuse me if I have gone a little overboard with my love of rhubarb, but I think whether you enjoy eating a fruit/vegetable, very much depends on how its been cooked, I’m trying to give you the very best chance to fall in love with rhubarb this year!

This recipe was very kindly given to me by a lovely lady called Lucy who I met on a retreat a few weeks ago in Scotland. We shared a room and yes, you’ve guessed It, I was droning on about rhubarb and I think she decided to shut me up by offering me her mums lovely recipe. I am grateful Lucy, its delicious, Thank-you x

So please give it a try before rhubarb disappears for another year.

What  you will need

2 ½ lb skinned and chopped rhubarb

2 ½ lb granulated sugar

1 inch fresh ginger peeled and bruised but left in a lump and tied up in a muslin bag

2 lemons

4oz chopped stem ginger

 How to make your conserve

1.       Previous night layer sugar, rhubarb and juice of the lemons in a shallow dish and leave overnight

2.       Place rhubarb mix in jam pan with bruised ginger in muslin bag

3.       Boil briskly for 15 mins

4.       Add stem ginger and boil for 5 mins until set (by eye or jam thermometer)

5.       Remove ginger bag and pot up in clean sterilised jars.

6.       Eat generously on toast on top of yogurt or whatever takes your fancy!

Earl Grey Tea Loaf

20130203-193040.jpg

I have been making tea loaf for years. It’s very popular especially when you tell people it’s fat free, but like all things that are good for you they are enhanced by a bit of naughtyness, in this case it’s a good lashing of butter on each slice! Jamie Oliver bless him, has tweaked this all time favourite by making it with Earl Grey and topping it with a lemon and earl grey syrup which takes it to another level. I tested this recipe out this weekend, the cake tin is empty!

What you will need for the cake

4 Earl Grey tea bags

400g dried fruit such as raisins, sultanas, cherries, cranberries

I orange

1 Large free-range egg

200g golden caster sugar

400g self-raising flour

1 level teaspoon mixed spice

Whole nutmeg for grating

How to make your Tea Loaf

  1. Place four Earl Grey tea bags in a jug and pour over 300ml of boiling water. Leave to brew for five minutes, remove tea bags.
  2. Place the mixed fruit into a large mixing bowl, grate over the zest of the orange and pour over the hot tea. Give it a good stir, then cover with cling film and leave for a few hours or overnight if possible – so that the fruit soaks up all the tea.
  3. When the fruit is ready, preheat the oven to 180°c/350°f/gas4. Line and grease a 1 litre loaf tin.
  4. Beat the eggs and add to the fruit mixture. Next add the sugar, flour, mixed spice and grate in some nutmeg and finally squeeze in the juice of the orange, mix well it should turn into a dryish doughy consistency.
  5. Bake for approx 1 hour and 10mins, or until cooked through. To test, poke a skewer into the middle of the cake, it should come out clean. While the cake is cooking, you can make the syrup.

You will need for the syrup

1 lemon zest and juice

100g caster sugar

200ml water

How to make the syrup

  1. Place the 2 tea bags in a pan with the water and juice and zest of the lemon. Gently bring to the boil, removing the tea bags after a couple of minutes.
  2. Add the the caster sugar and bring back to the boil without stirring, keep it on a medium heat so that you have a steady boil fora round 5-10minutes, or until the mixture has reduced by half and you have a golden syrup.
  3. Once the cake is out of the oven, prick the cake all over with a cocktail stick or skewer and then brush the syrup all over the top of the cake. Leave to cool in the tin.
  4. Once completely cool, slice and serve with butter and a good cuppa. Jamie suggests serving with Wensleydale cheese and a glass of sherry as a after dinner treat, nice one Grommit!


Rhubarb Muffins to make you smile :)

20121221-222313.jpg

Rachel Lane, I am grateful to you that you introduced me to these amazing muffins. I remember making a tray of these early one morning to take to a friend. I drove with them on the passenger seat still warm whilst taking Maisie to school, I kept meeting people I knew along the narrow country lanes and by the time we arrived, there weren’t many left! Those muffins put smiles on faces that morning.This muffin recipe is definately worth getting out of bed a bit earlier this weekend, whacking some in the oven, brewing up some coffee and making the world a better place to breakfast in 🙂

What you will need

250g soft brown sugar

80ml vegetable oil

1 egg

2 teaspoons vanilla extract

250ml buttermilk

175g rhubarb, cut into 1 cm lengths

75g pecans or walnuts, roughly chopped

300g plain flour

2 teaspoons baking powder

1 teaspoon bicarbonate of soda

50g wheat germ

For the topping

2 tablespoons Demerara sugar mixed with 1 teaspoonful of cinnamon

How to make your muffins

Preheat the oven to 200°c/Gas Mark 6

  1. Cut out roughly 12x 12cm squares of parchment paper and push and mould each one down into a 12 whole muffin tray.They will sit on the surface for now but when you put the mixture in they will sink down to form a kind of paper-tulip liner? The muffins wil look rustic and gives you a ready plate when your devouring one of your creations!
  2. In a large bowl, mix the sugar, oil, egg, vanilla extract and buttermilk. Stir in the chopped rhubarb and nuts. Sprinkle over the flour, baking poder and bicarbonate and add the wheat germ. Fold together quickly until just blended but still rather lumpy.
  3. Spoon into the lined muffin cases and sprinkle with the cinnamon and sugar mixture.
  4. Bake for 20-25 minutes, by which time the sugar topping will be glistening and the muffins beneath apple but definite gold.
  5. Eat warm . When you’ve had your fill, jump in the car with the rest and make somebody’s day.

Easy Rhubarb, Strawberry and White Chocolate Crumble

20121222-201703.jpg

My Dad has always kept an amazing garden and has supplied the family with fresh, seasonal vegetables for as long as I can remember. This week he delivered the first of the seasons rhubarb, beautiful pink stems wrapped up in big rhubarb leaves and tied with old gardening string, a work of art! The local veg stalls now have rhubarb for sale if you don’t grow your own, alternatively the supermarkets are selling rhubarb and the first seasons British strawberries. I am always keen on making recipes as simple as I can, whilst still producing the very best taste, I think you will like the change of using honey instead of sugar. I cooked this revised recipe last night and the diners loved it.

You will need

500g (1lb) Rhubarb 300g

250g (10ozs) strawberries

Juice of one orange

3 tablespoons of honey

1 tablespoon plain flour

for the crumble topping

150g ( 5ozs) plain flour

150g (5ozs) porridge oats

150g (5ozs) sugar

150g (5ozs) butter

50g (2ozs) ground almonds

50g (2ozs) white chocolate chips or buttons

How to make your Rhubarb Crumble

Preheat oven to 180°c/Gas Mark 4

  1. Trim the rhubarb and cut into 2cm lengths. Place the rhubarb in a oven proof dish and drizzle with the honey and pour over the orange juice. Place in the oven for 15 minutes.
  2. In a bowl mix in the flour, oats, almonds and sugar together. Using your finger tips rub the soft butter into the mixture until it resembles breadcrumbs. Add the white chocolate and mix well.
  3. Take the Rhubarb out of the oven and add the strawberries sprinkle over the tablespoon of flour and mix very gently (the flour will help to thicken the juices and prevent the crumble from being to liquid).
  4. Sprinkle the crumble on top and bake in the oven for 35-40 minutes.
  5. Serve with clotted cream, sit back and devour.


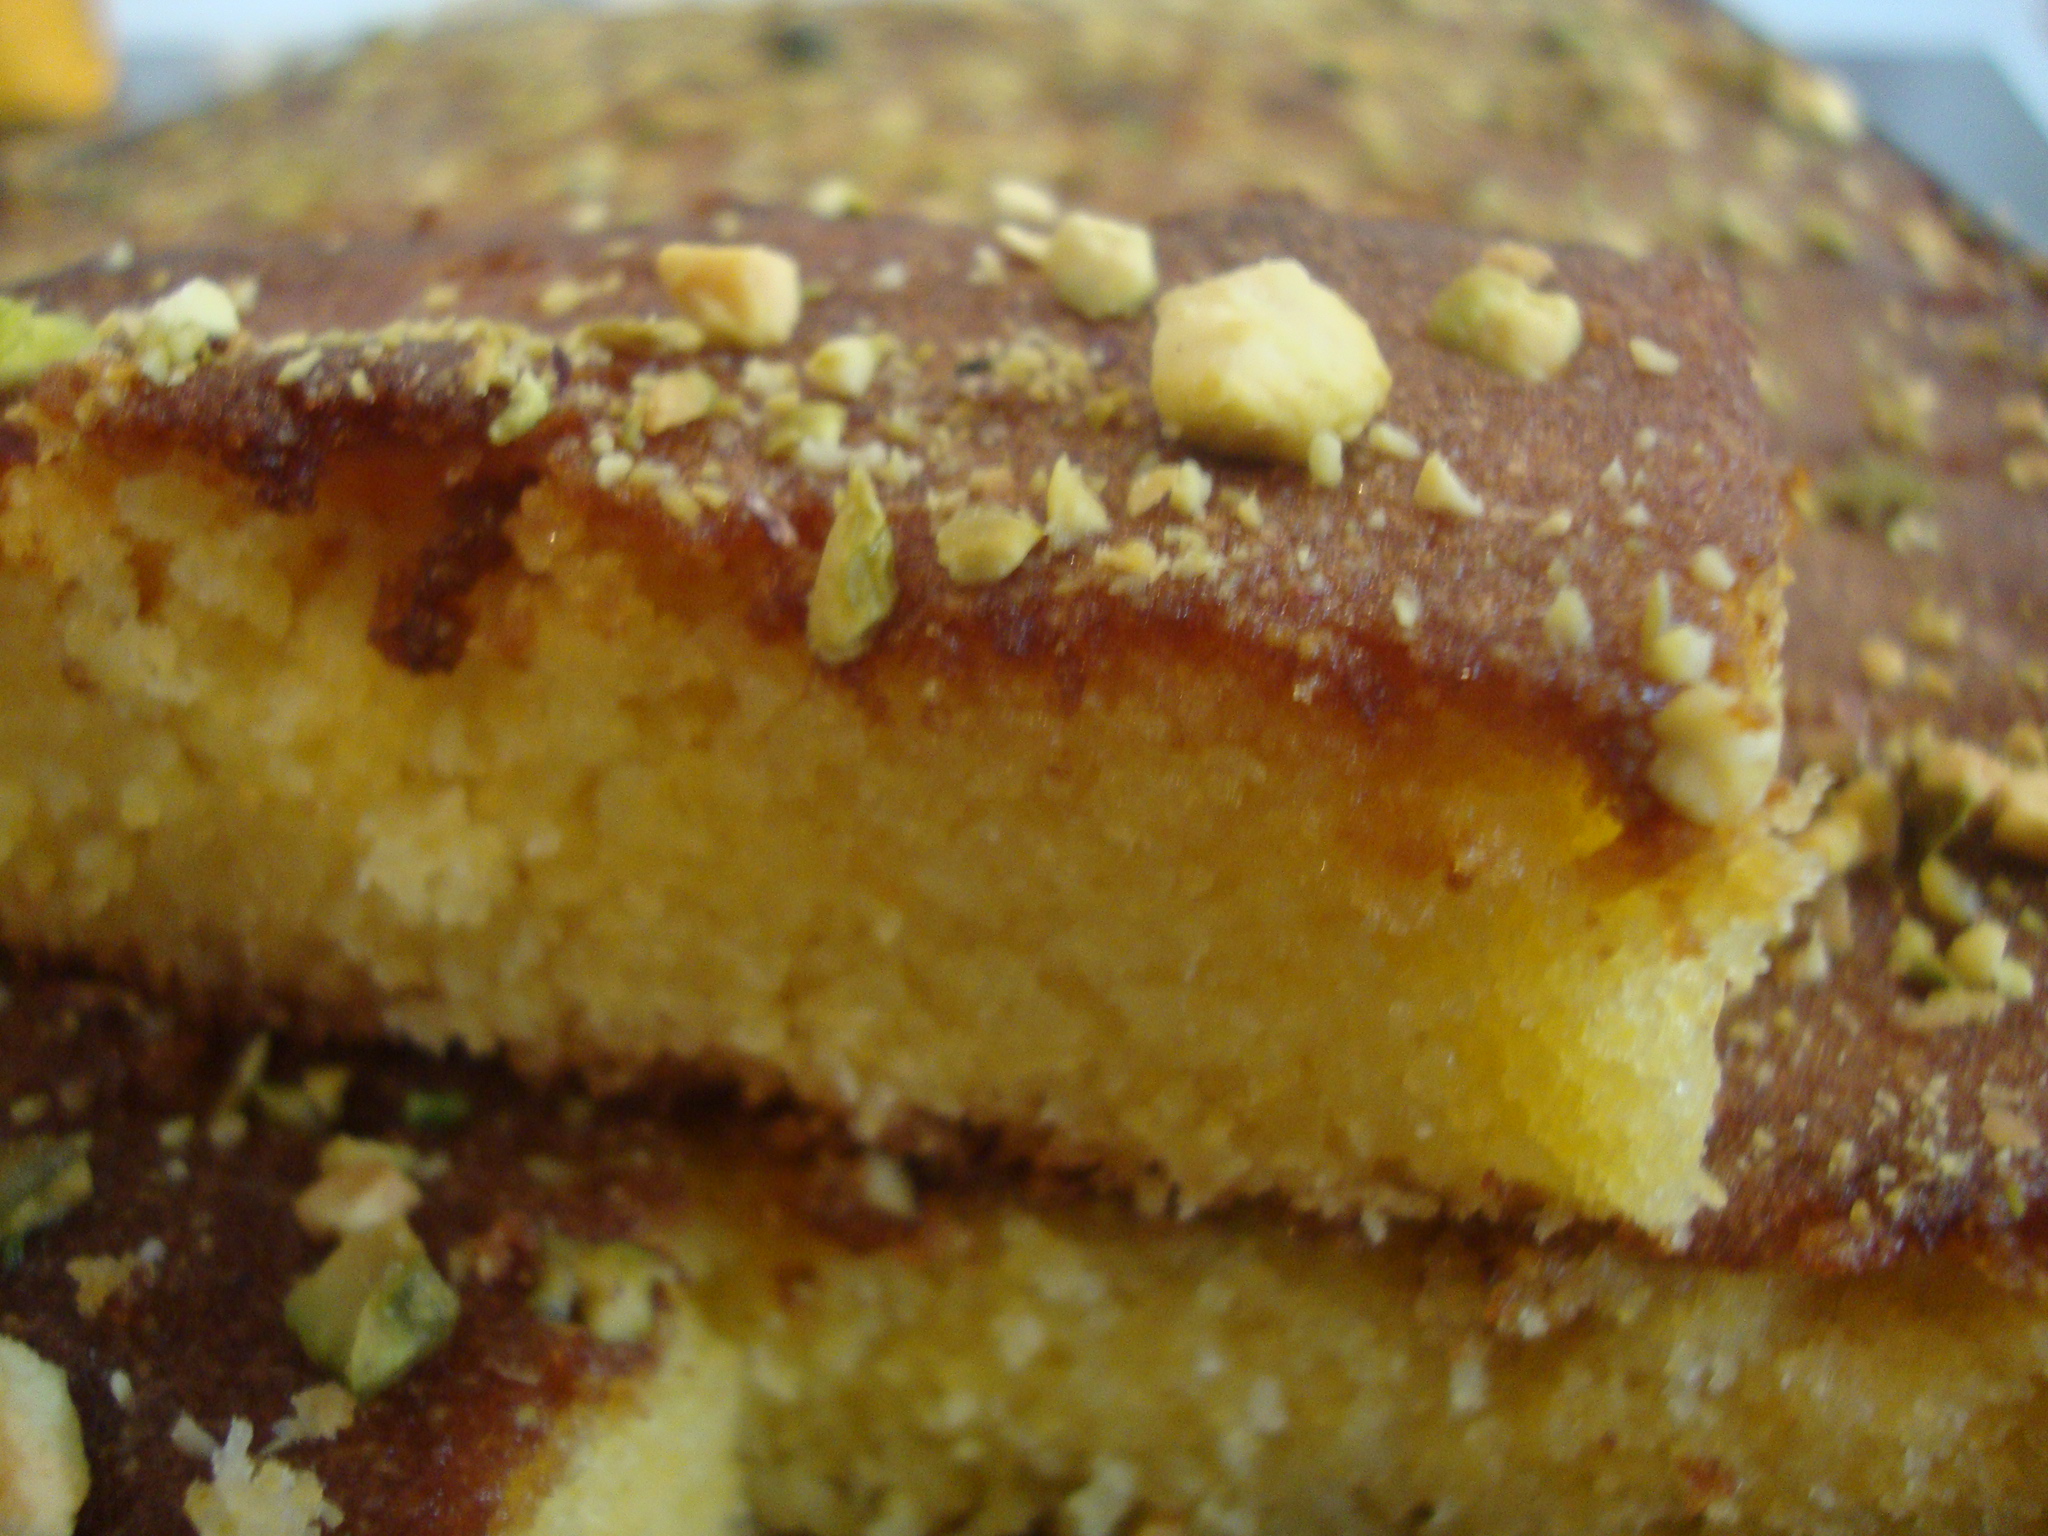
Lemon and Orange Polenta Tray bake (gluten free)

There is now a greater demand for gluten free foods. My feeling is that this might be due to our diet being too heavily bulked out with processed wheat. I know personally that too much wheat in my diet makes me sluggish and bloated, I think this is pretty common problem. To never have the joy of eating a slice of homemade cake would be unthinkable. So, I have for you a great tray bake that is easy to make, tastes delicious, will freeze well  and it won’t leave you feeling like a bloated porker…what more can you ask?

You will need

For the cake mixture;

250g (9ozs) unsalted butter

250g (9ozs) caster sugar

300g (11ozs) ground almonds

2 tsp vanilla extract

6 eggs

200g (8ozs) polenta ( a mix of fine and medium mill is good)

1 tsp salt

1 lemon (juice and zest)

For the syrup drizzle topping

100g (4ozs) caster sugar

2 oranges (juice and zest)

2 lemons (juice and zest)

50g (2ozs) pistachio nuts crushed (optional)

Preheat oven to 160°c / 325°f Gas mark3

How to make your Lemon Polenta cake

  1. In a large mixing bowl , cream the butter and sugar, then beat in the eggs one at a time, followed by the ground almonds, polenta, salt and vanilla. Finely zest and juice the lemon and add to the mix.
  2. Line a baking tray  (38 x 26 cm /15×10″approx) with baking paper, pour in your mix, level out and then bake for approx 50 minutes. When the cake comes out of the oven it should still have a slight wobble on!
  3.  Make the syrup by roughly zesting the oranges and lemons with a peeler and placing in a saucepan along with the juice add the caster sugar. Place on the heat hob and heat until the sugar has dissolved, then strain through a sieve into a bowl and put to one side.
  4. When the cake comes out of the oven,  prick it all over with a fork and then pour or brush over the syrup. You can then sprinkle the pistachios on if using them. Leave in the tin to cool. Cut into slices. Store in an air tight tin. Don’t forget this freezes well, so great for lunch boxes through the week and friends in need of a cake hit!

Texas Hash

I can still remember being about 5yrs old, watching my Mum listen to the ‘Jimmy Young’ radio show and jotting down the recipe of the day. I  thought my Mum was pretty cool doing this, even though I had to stay quiet during the broadcast! I still cook  those recipes and this particular dish is a family favourite. I hope your families love it too.

You will need

500g (I lb) minced beef

1 large onion

1 medium tin of chopped tomatoes

2 tablspoons of long grain rice

1 green pepper

1 tablespoon Worcester sauce

1 teaspoon sugar

salt and pepper to taste

To make your Texas Hash

Pre-heat oven to approx  325°f / 170°c / Gas 4

  1. Chop the onion and fry in a little oil until golden, add mince and stir well to break up. Add salt, pepper and sugar.
  2. De-seed and thinly slice the green pepper and add to the meat mixture. Empty the tin of tomatoes into the pan, along with the Worcester sauce and the rice. Stir well and cook for a few minutes until  some of the liquid reduces slightly.
  3. Tip into a greased ovenproof dish and cook in a moderate oven for about 45 minutes.
  4. Serve with creamed potatoes.


Cocoa Crunch for Breakfast

I have battled with the cereal Isle and children for many years. My problem is the standard of ingredients of most children’s cereal. I’m not a purist but I resent buying expensive sugar/glucose laced cereal that has very little nutrition in it. Cocoa Crunch is an alternative  cereal that ticks the boxes for Maisie and I. Give it a go and let me know how it goes down in your household.

You will need

250g (9ozs) sugar

100ml (3½ fl oz) water

50ml (2fl oz) vegetable oil

75g (3ozs) good quality milk chocolate  preferably 34% cocoa solids, chopped

2 tsps honey

375g (13ozs) oats

110g (4ozs) Rice Crispies (or puffed rice cereal)

12g (1oz) desiccated coconut

30g (1oz) cocoa powder

How to make your Cocoa Crunch

  1. Preheat the oven to 180°c/350°f/ gasmark4.
  2. Line a large baking tray (or two smaller ones) with greaseproof paper or baking parchment.
  3. Melt the sugar in the water over a low heat to make a syrup without caramelising it. Do not stir or disturb the sugar and water mixture at all while it is melting. Take off the heat and  allow to cool until warm and then melt the vegetable oil and chocolate in the syrup, add the honey and mix well.
  4. In a large bowl mix together the oats, Rice Crispies, coconut and cocoa together. Add the syrup mixture to the dry ingredients and mix thoroughly. Spread the mixture on to the prepared baking tray to a thickness of about 1cm (½inch).
  5. Bake for about 35-40 minutes, and using a fork, turn the Cocoa Crunch regularly. Be careful not to crush it into fine crumbs though; it should remain as chunks, like a granola.
  6. It is better to under cook the Cocoa Crunch as it can burn easily, especially around the sides of the baking tray, so do watch it carefully.
  7. Leave to cool. Once completely cool store in an air tight container. I use glass storage jars…because they look nice and if I’m completely honest with you, I like to see that jar on the shelf and know that I won the cereal isle battle!

Hot Cross Buns

Image

20130316-083557.jpg

This has become a bit of a tradition in our house, and every year I look forward to knocking some of these out for family and friends. The whole ritual of kneading dough, the smell of the cinnamon and the expectation of freshly baked buns, does it for me every time. This year I’m trying Paul Hollywood’s version, he is a master baker with very nice eyes. Paul leaves the dough to rise three times, a new one on me but I have the dough proving as I write so by tea time we should be tucking in. Why not join me in making this friday a very ‘Good’ one.

This was the result and apart from needing more fruit and spice for my liking, they were absolutely delicious, soft, squishy and very moreish.


What you will need

300ml (1/2pint) full-fat milk , plus 2 tbsp more

50g (2oz) butter

500g (1lb 2oz) strong bread flour

1 tsp salt

75g ( 2 1/2oz)caster sugar

1 tbsp sunflower oil

7g sachet fast-action or easy-blend yeast

1 egg , beaten

100g (4ozs) sultanas ( Paul says 75g, in my book thats too skimpy)

50g ( 2oz) mixed peel

zest 2 oranges

1 apple , peeled, cored and finely chopped

1 tsp ground cinnamon ( Next time I’m adding 1tsp of mixed spice aswell, I like them spicy)


How to make your Hot Cross Buns

  1. Bring the milk to the boil, then remove from the heat and add the butter. Leave to cool until it reaches hand temperature. Put the flour, salt, sugar and yeast into a bowl. Make a well in the centre. Pour in the warm milk and butter mixture, then add the egg. Using a wooden spoon, mix well, then bring everything together with your hands until you have a sticky dough.
  2. Tip on to a lightly floured surface and knead by holding the dough with one hand and stretching it with the heal of the other hand, then folding it back on itself. Repeat for 5 mins until smooth and elastic (alternatively mix for 5mins in a kenwood chef using a dough hook) Put the dough in a lightly oiled bowl. Cover with oiled cling film and leave to rise in a warm place for 1 hr or until doubled in size and a finger pressed into it leaves a dent.
  3. With the dough still in the bowl, tip in the sultanas, mixed peel, orange zest, apple and cinnamon. Knead into the dough, making sure everything is well distributed. Leave to rise for 1 hr more, or until doubled in size, again covered by some well-oiled cling film to stop the dough getting a crust.
  4. Divide the dough into 12 even pieces. Roll each piece into a smooth ball on a lightly floured work surface. Arrange the buns on one or two baking trays lined with parchment, leaving enough space for the dough to expand. Cover (but don’t wrap) with more oiled cling film, or a clean tea towel, then set aside to prove for 1 hr more.
  5. Heat oven to 220C/200C fan/gas 7. Mix 75g (3oz) of plain flour with about 5 tbsp water to make the paste for the cross – add the water 1 tbsp at a time, so you add just enough for a thick paste. Spoon into a piping bag with a small nozzle. Pipe a line along each row of buns, then repeat in the other direction to create crosses. Bake for 20 mins on the middle shelf of the oven, until golden brown.
  6. Gently heat the apricot jam to melt, then sieve to get rid of any chunks. While the jam is still warm, brush over the top of the warm buns and leave to cool.

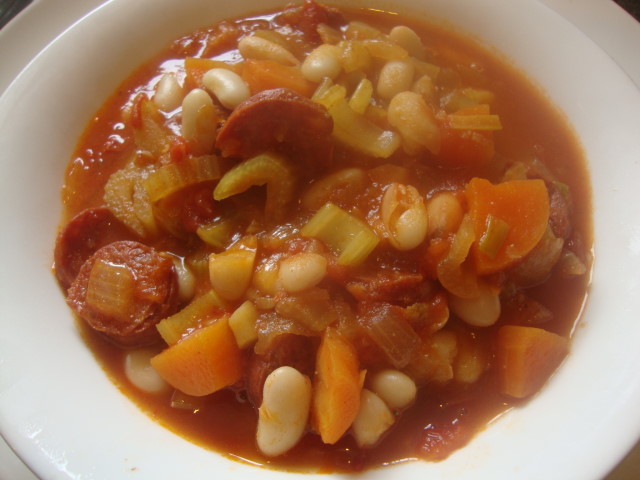
Spicy white bean and chorizo soup

I stepped ouside this morning to go for my early morning run and nearly stepped straight back in. The temperature fluctuations in this country are becoming a joke and so my friends I bring you a touch of comfort on such a day, in the form of a very simple, but extremely tasty soup. Enjoy!

This recipe is from Donal Skehan a 24yr old  Irish lad, with a big passion for food.

You will need

200g (8ozs) chorizo, thinly sliced (try lidls its a good buy)

1 Large onion, chopped

225g (8ozs) celery, chopped

300g (11ozs) carrot, chopped

2 garlic cloves, finely chopped

1 tsp paprika ( I like the smoked one)

1 tsp chilli powder

1/2 tsp ground cumin

400g (14oz) can chopped tomatoes

750ml (26flozs) vegetable stock

2 x 400g (14oz) cans cannellini beans, drained and rinsed

crusty bread to serve

To make your soup

  1. Fry the chorizo in a large pan until it is golden and has released its lovely spicy oil. Remove the chorizo with a slotted spoon and set aside. Add the onion, celery and carrot to the pan and fry gently for 3-4mins. Stir in the garlic, paprika, chilli pwder and cumin and fry for 1 min.
  2. Add the chopped tomatoes and stock and season. Stir well, return the chorizo to the pan and bring to the boil, then reduce the heat and simmer for 10 mins. Add the beans and simmer for a further 5 mins or until the veg is tender and the beans are heated through. Serve with crusty bread. If you have some flat leaf parsley available, chop some up and sprinkle over the soup, it adds a lovely fresh flavour to it.

Surfers Brownies

I made a batch of these during my stay in Australia. I didn’t have my usual recipe with me so I found this Aussie one and according to the testers they were amazing!

You will need

1/3 cup plain flour

1/2 cup cocoa powder

2 cups sugar

1 cup chopped pecans or walnuts

250g (8ozs) good quality dark chocolate

250g (8ozs) butter

2 tsp vanilla essence

4 lightly beaten eggs

A  lined and greased 20cm (8″) square shallow  tin

How to make your Brownies

  1. Set oven to fan160C/conventional 180C/gas 4.
  2.  Sift the flour and cocoa into a bowl add the sugar and nuts and mix well.
  3. Chop the chocolate into chunks and add to the dry ingredients.
  4. Melt the butter in a pan and add to all the dry ingredients, along with the vanilla essence and the beaten eggs. Mix well.
  5. Pour into the prepared tin and cook for approx 20-25 mins, so the brownies are still soft in the middle but not to the point of being wobbly if you slighty shake the tin, it should  just look slightly underdone.The top should have a shiny papery crust and the sides just coming away from the edge. Cooking time is the key to a good soft chewy brownie, so my advice would be to always slightly undercook than over cook.
  6. Leave to cool in tin and  then cut into squares. Store in an airtight tin and hide!